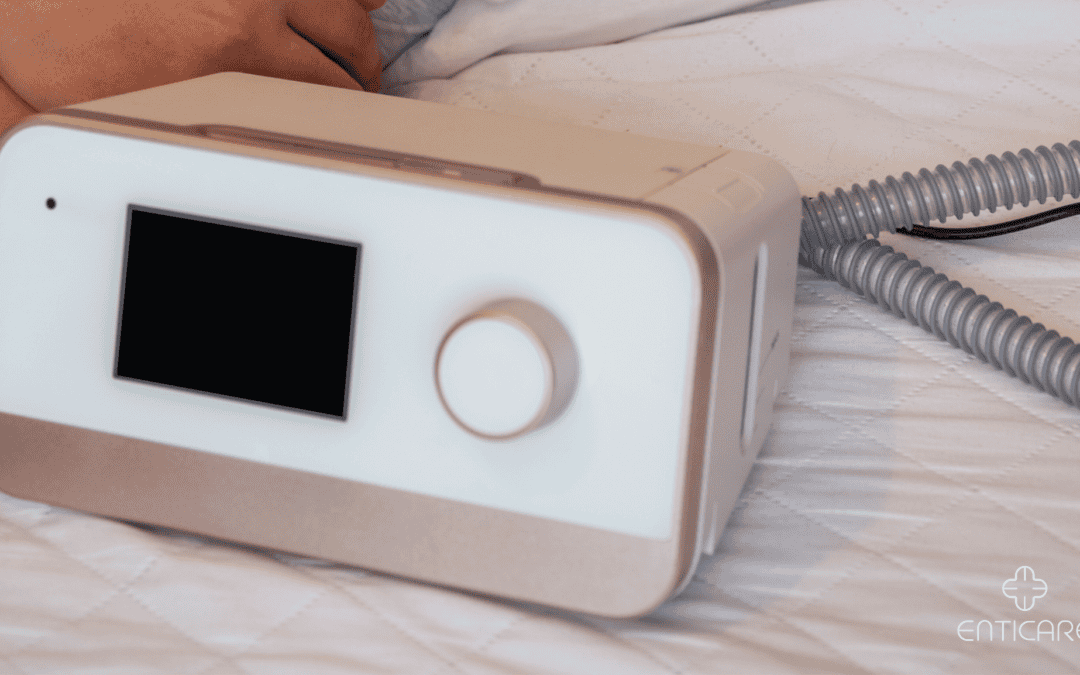
Imagine taking a deep breath of fresh air, only to be met with resistance. That’s what happens to your CPAP machine when its intake filter gets clogged. A dirty filter not only hinders your sleep but can also impact the machine’s performance.
The good news? Maintaining a clean CPAP intake filter is a simple process that yields significant benefits. This guide will equip you with everything you need to know about changing your CPAP intake filter, including how often, why, and the easy steps involved.
Here’s why a clean CPAP intake filter is essential for a good night’s sleep:
- Optimal Airflow: A clogged filter restricts airflow, making it harder for you to breathe effectively during sleep. This can disrupt your sleep quality and potentially compromise your CPAP therapy.
- Reduced Noise: A dirty filter forces the machine to work harder to draw in air, leading to louder operation. This can be disruptive, especially for light sleepers.
- Improved Air Quality: The CPAP intake filter traps dust, allergens, and other airborne particles. A clean filter ensures you breathe in cleaner air throughout the night.
- Longer Machine Life: Regular filter changes prevent dust buildup inside the machine, which can damage components and shorten its lifespan.
Now that you understand the importance of a clean filter, let’s delve into the replacement process.
How Often to Change Your CPAP Intake Filter
- Manufacturer Recommendations: Refer to your CPAP user manual for the specific filter change frequency recommended by the manufacturer. Most manufacturers suggest changing the primary filter month, and secondary filter (if present) every 3 months.
- Environmental Factors: Consider your environment. If you live in a dusty area, have pets, or smoke indoors, you might need to change the filter more frequently (every 4-6 weeks). If one one filter present, consider changing this every 15 days.
- Visual Inspection: Regularly inspect your filter for signs of clogging or discoloration. A dirty or clogged filter will appear gray or brown instead of white. If you notice any visible dirt buildup, it’s time for a replacement. Do not wait until it appears heavily soiled.
Steps to Changing Your CPAP Intake Filter
- Power Down: Always unplug your CPAP machine before cleaning or replacing filters. This is a crucial safety precaution.
- Locate the Filter: Consult your user manual to identify the specific location of your CPAP intake filter. It’s typically near the air inlet of the machine, often behind a cover or latch.
- Remove the Old Filter: The user manual will provide specific instructions on removing the used filter. It might involve opening a latch or gently pulling the filter out of its slot.
- Replace with a New Filter: Unwrap a new, compatible filter and insert it into the designated slot according to the manufacturer’s instructions. Ensure the filter is properly seated and secure.
- Reassemble and Restart: Close any covers or latches you opened, and reconnect the power cord to your CPAP machine. You can now plug it back in and restart the machine.
Regular CPAP intake filter changes are a vital part of maintaining optimal CPAP performance and ensuring a healthy sleep environment. By following these simple steps and adhering to the recommended replacement frequency, you can breathe easy and enjoy a restful night’s sleep with your CPAP therapy. And if you have any questions or would like to explore heated tubing options further, don’t hesitate to contact Enticare, our expert team is here to assist you every step of the way.